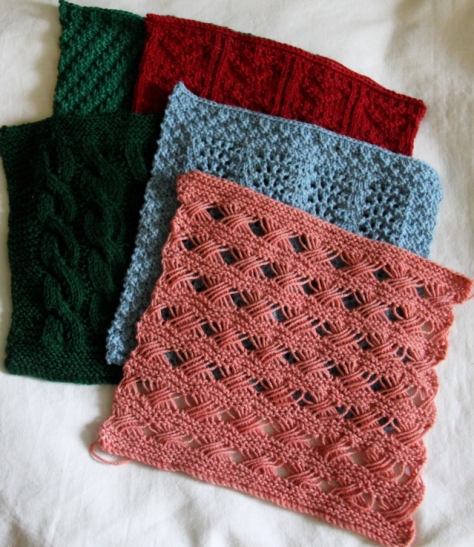
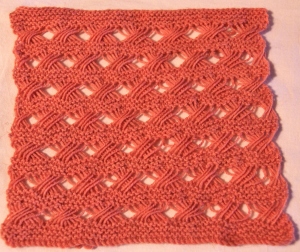
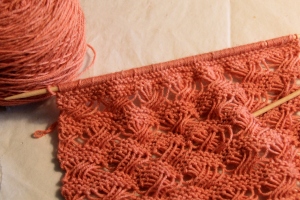
The wonderful thing about sampler patterns is that you can try out new stitches without a major commitment. This stitch pattern has fascinated me for years! I decided that a sampler blanket was the perfect place to try it out!
This pattern looks a little tricky, but is really quite easy. Only two of the rows involve patterning and while slow to work they do pay you back by filling in a great deal of space. The photo tutorial down the sides should help with the patterning.
Materials: 3.25mm, #3 US needles, 20grs Tracks Fingering by the Buffalo Wool Co
Cast-on 56 stitches.
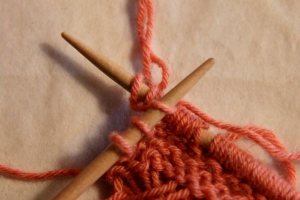
Rows 1 to 6 – Knit.
Row 1 – K1, *K1, wrapping the yarn 4 times around the needle and drawing all wraps through the stitch on the needle; repeat from * until the last st, end K1. Note: the first and last stitch are not wrapped, they are knit as a regular st. This keeps the the first and last twist from being loose on the edges.
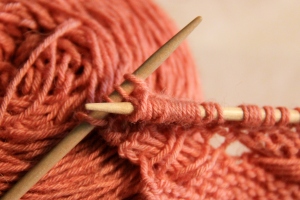
Row 2 – *sl the next 8 sts, to the right hand needle, dropping the wraps from the needle as you slip the sts. Straighten the stitches and then twist the stitches by inserting the left hand needle through the fronts of the 4 far right stitches and then lift those 4 stitches over the the 4 left hand stitches. Slip the stitches back onto the left hand needle and knit as normal. Repeat from * 6 more times across the row.
Rows 3 to 6 – Knit.
Row 7 – as row 1.
Row 8 – sl the next 4 sts, to the right hand needle, dropping the wraps from the needle as you slip the sts. Straighten the stitches and then twist the stitches by inserting the left hand needle through the fronts of the 2 far right stitches and then lift those stitches over the the 2 left hand stitches.
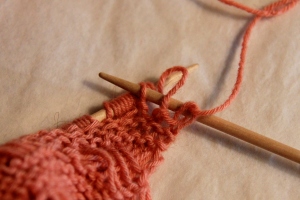
Slip the stitches back onto the left hand needle and knit as normal. *sl the next 8 sts, to the right hand needle, dropping the wraps from the needle as you slip the sts. Straighten the stitches and then twist the stitches by inserting the left hand needle through the fronts of the 4 far right stitches and then lift those 4 stitches over the the 4 left hand stitches. Slip the stitches back onto the left hand needle and knit as normal. Repeat from * 5 more times. There are 4 stitches left, twist as described at the beginning of the row.
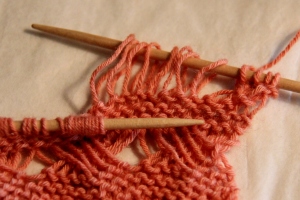
Rows 9 to 12 – knit.
Repeat rows 1 to 12, 7 times in total. knit 2 more rows and then cast-off in knit.
I think that I might make another of these with two colours, one for the garter st and another for the patterning. I will have to wait and see what colours I like together.
Read the instructions for the rest of photo’s by mousing over the bottom of each picture. The instructions will pop right up!
Happy Knitting
Lynette


