
 When you have completed the knitting of your first lace project the result is always a little disappointing. What comes off of the needles usually bears little resemblance to that picture you have been staring at for weeks!
It is not until lace is blocked that it shows off its true beauty. Not until every stitch has been stretched and opened up to show the incredible pattern that your hands, needles and yarn have been working towards. Blocking or “dressing” as it is sometimes called opens up the lace and shows off its true beauty.
Before we block anything we need to plan ahead and have a few supplies at hand;

- Space to block on – a clean surface, like a bed, a piece of floor (usually carpeted), or a blocking board will do! If you are, or someone you know is handy, a blocking rack could be built – perfect to block your lace out on!
- Clean towels to cover the working surface and a couple extra to wrap your shawl in.
- Eucalan, Soak or equivalent wool wash with which to soak your shawl.
- A large bowl or clean sink to soak your in.
- T-pins (a lot of T-pins for Love Is…), lace blocking wires, I have seen circular blocking wires but haven’t tried them yet, measuring tape or yard(meter) stick and a spray bottle of water with a few drops of Eucalan or Soak mixed in.
Blocking – Love is….
Note: I have not used any “hard” measurements here – every person will get different measures depending on how they knit and how stringently they block our their knits. What is important is that the measures you use are consistent.
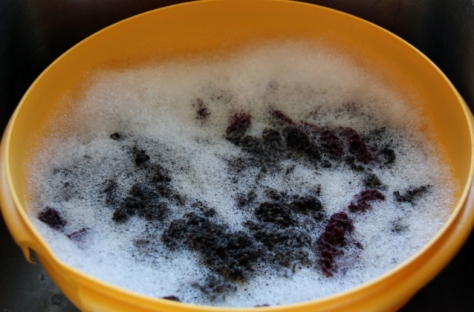
Once the ends have been woven in – do not clip those ends short, as the shawl is blocked they may shift, therefore clip the ends after the shawl is dry – soak your shawl in a good wool wash.
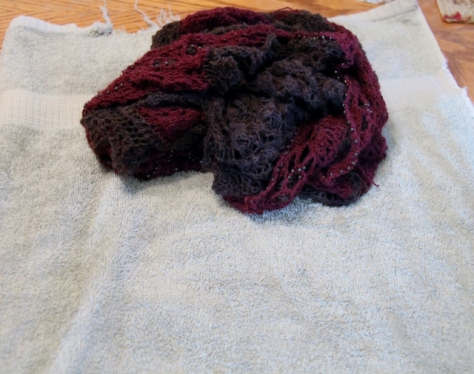
Your shawl is clean, but the yarn has been handled and just needs to be freshened up a bit; gently squeeze out as much water as possible and then roll up into a towel to remove most of the remaining moisture.
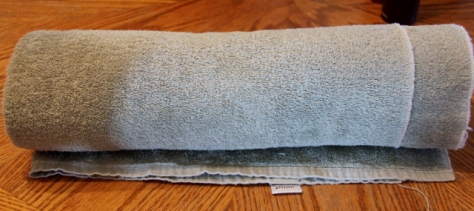
I usually stand on the towel roll and jump and down a couple of times to encourage the water to draw into the towel.
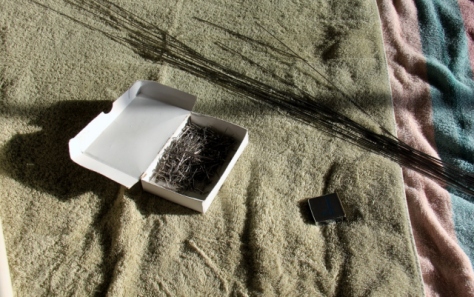
Cover the surface you are blocking on with the extra towels.
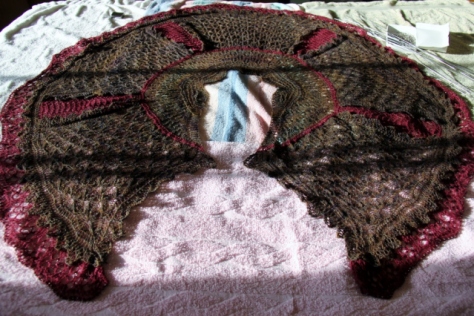
Lay the knitting out onto the blocking surface and arrange into the shape of the shawl.
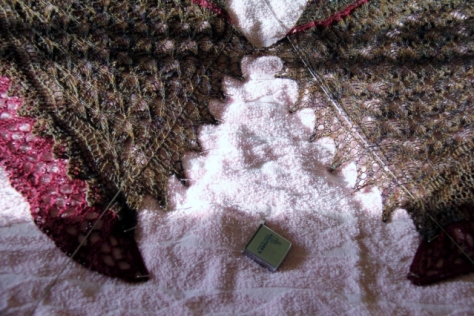
For a shawl with an open center, like Love Is …, or any other split shape start pinning at the opening and neck edge. I used blocking wires to help keep the front opening straight and pins for the points.
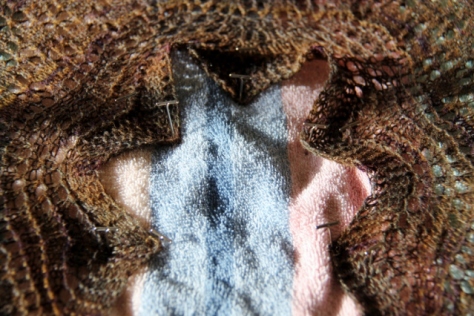
I carefully pinned the neck edge to keep the wavy shape that the lace pattern wants to make. I pinned both the edge and the inside edge. I like to pin the neck edge first so that I have a stable point to pull the shawl open from. The stable neck edge allows me to measure from those points to keep the shawl the same length all the way around.
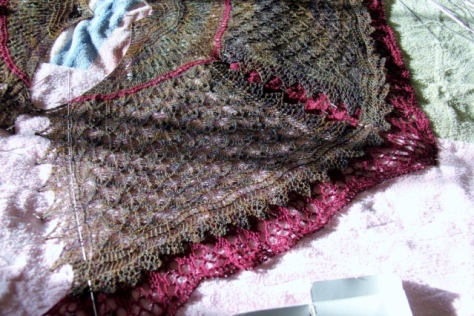
Measure and pin out the inserts on either side of the opening – measure from the neck to edge and from the opening to the insert. Keep the measures as close as possible; ie length of each insert the same and distance of the insert from the opening the same. Lace knitting is very flexible and if we don’t measure what we are doing the results will not be as even as we want.
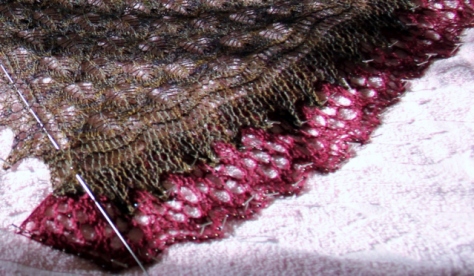
Once the first two inserts are pinned, then pin the edges from front opening to insert. Pin the outside edge first and then the points on the inside edge. I used two pins on each repeat of the floral pattern – to help maintain the outside curve of the lace.
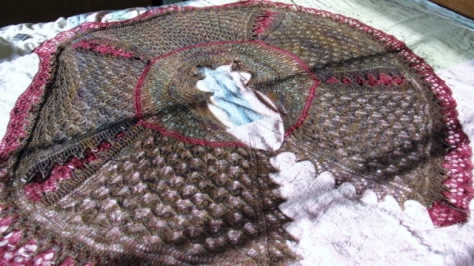
After the first two inserts and edgings are pinned, pin the next two inserts, remembers the measures you had for the first two. Block them so that the distances from the first to second insert are the same on both sides. These two distances will be greater than the first two distances because the body sections are wider, with more repeats of the main pattern – the last measure between the second and third insert will be greater again, as it was again more repeats of the pattern.
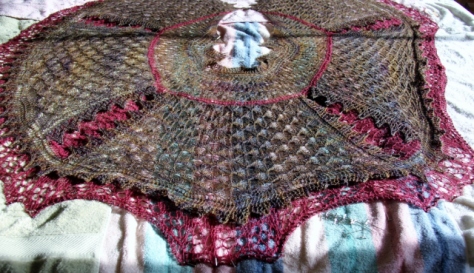
Once the last two inserts are pinned out start pinning the remaining edges. I started these edges at the center points between each insert and worked my way from there back to the inserts.
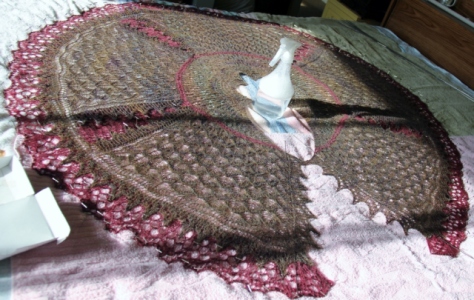
Once the shawl has been completely pinned out – spray with the water solution and gently pat some of the moisture back into the fibre. The shawl will be almost dry by this point and I like to give it a little bit more moisture and then let it dry completely.
In the gallery below are a few detail pictures from the “Love Is….” blocking and a few picture of other lace pieces being blocked. I tried to collect pictures of different shapes and sizes to help give you some idea’s of how to approach your particular shawl.
Happy Blocking
Lynette


